Water Meter Power?

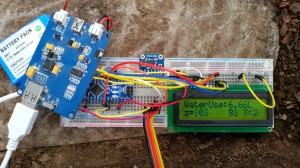
After a few days of running the water meter has worked well. Thoughts have turned to formalizing it with a proper PCB, mounting and how to power it. It currently has a 3000mAh battery and a solar panel for a little help during the day. This ran the Arduino Nano and xbee for 2.5 days before running flat. I found out today when removing the meter (it was flat) the solar panel on an overcast day can run the current setup no problem.  By extending the battery life I can be sure that even if there is extremely bad weather for a few days the meter will not have any outages. So far I have 3 thoughts on reducing power usage:

  • Put the xbee to sleep with a Pin from the nano to save some power in between the minutely broadcast.
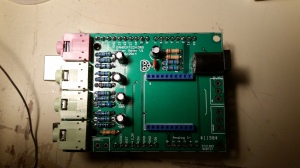
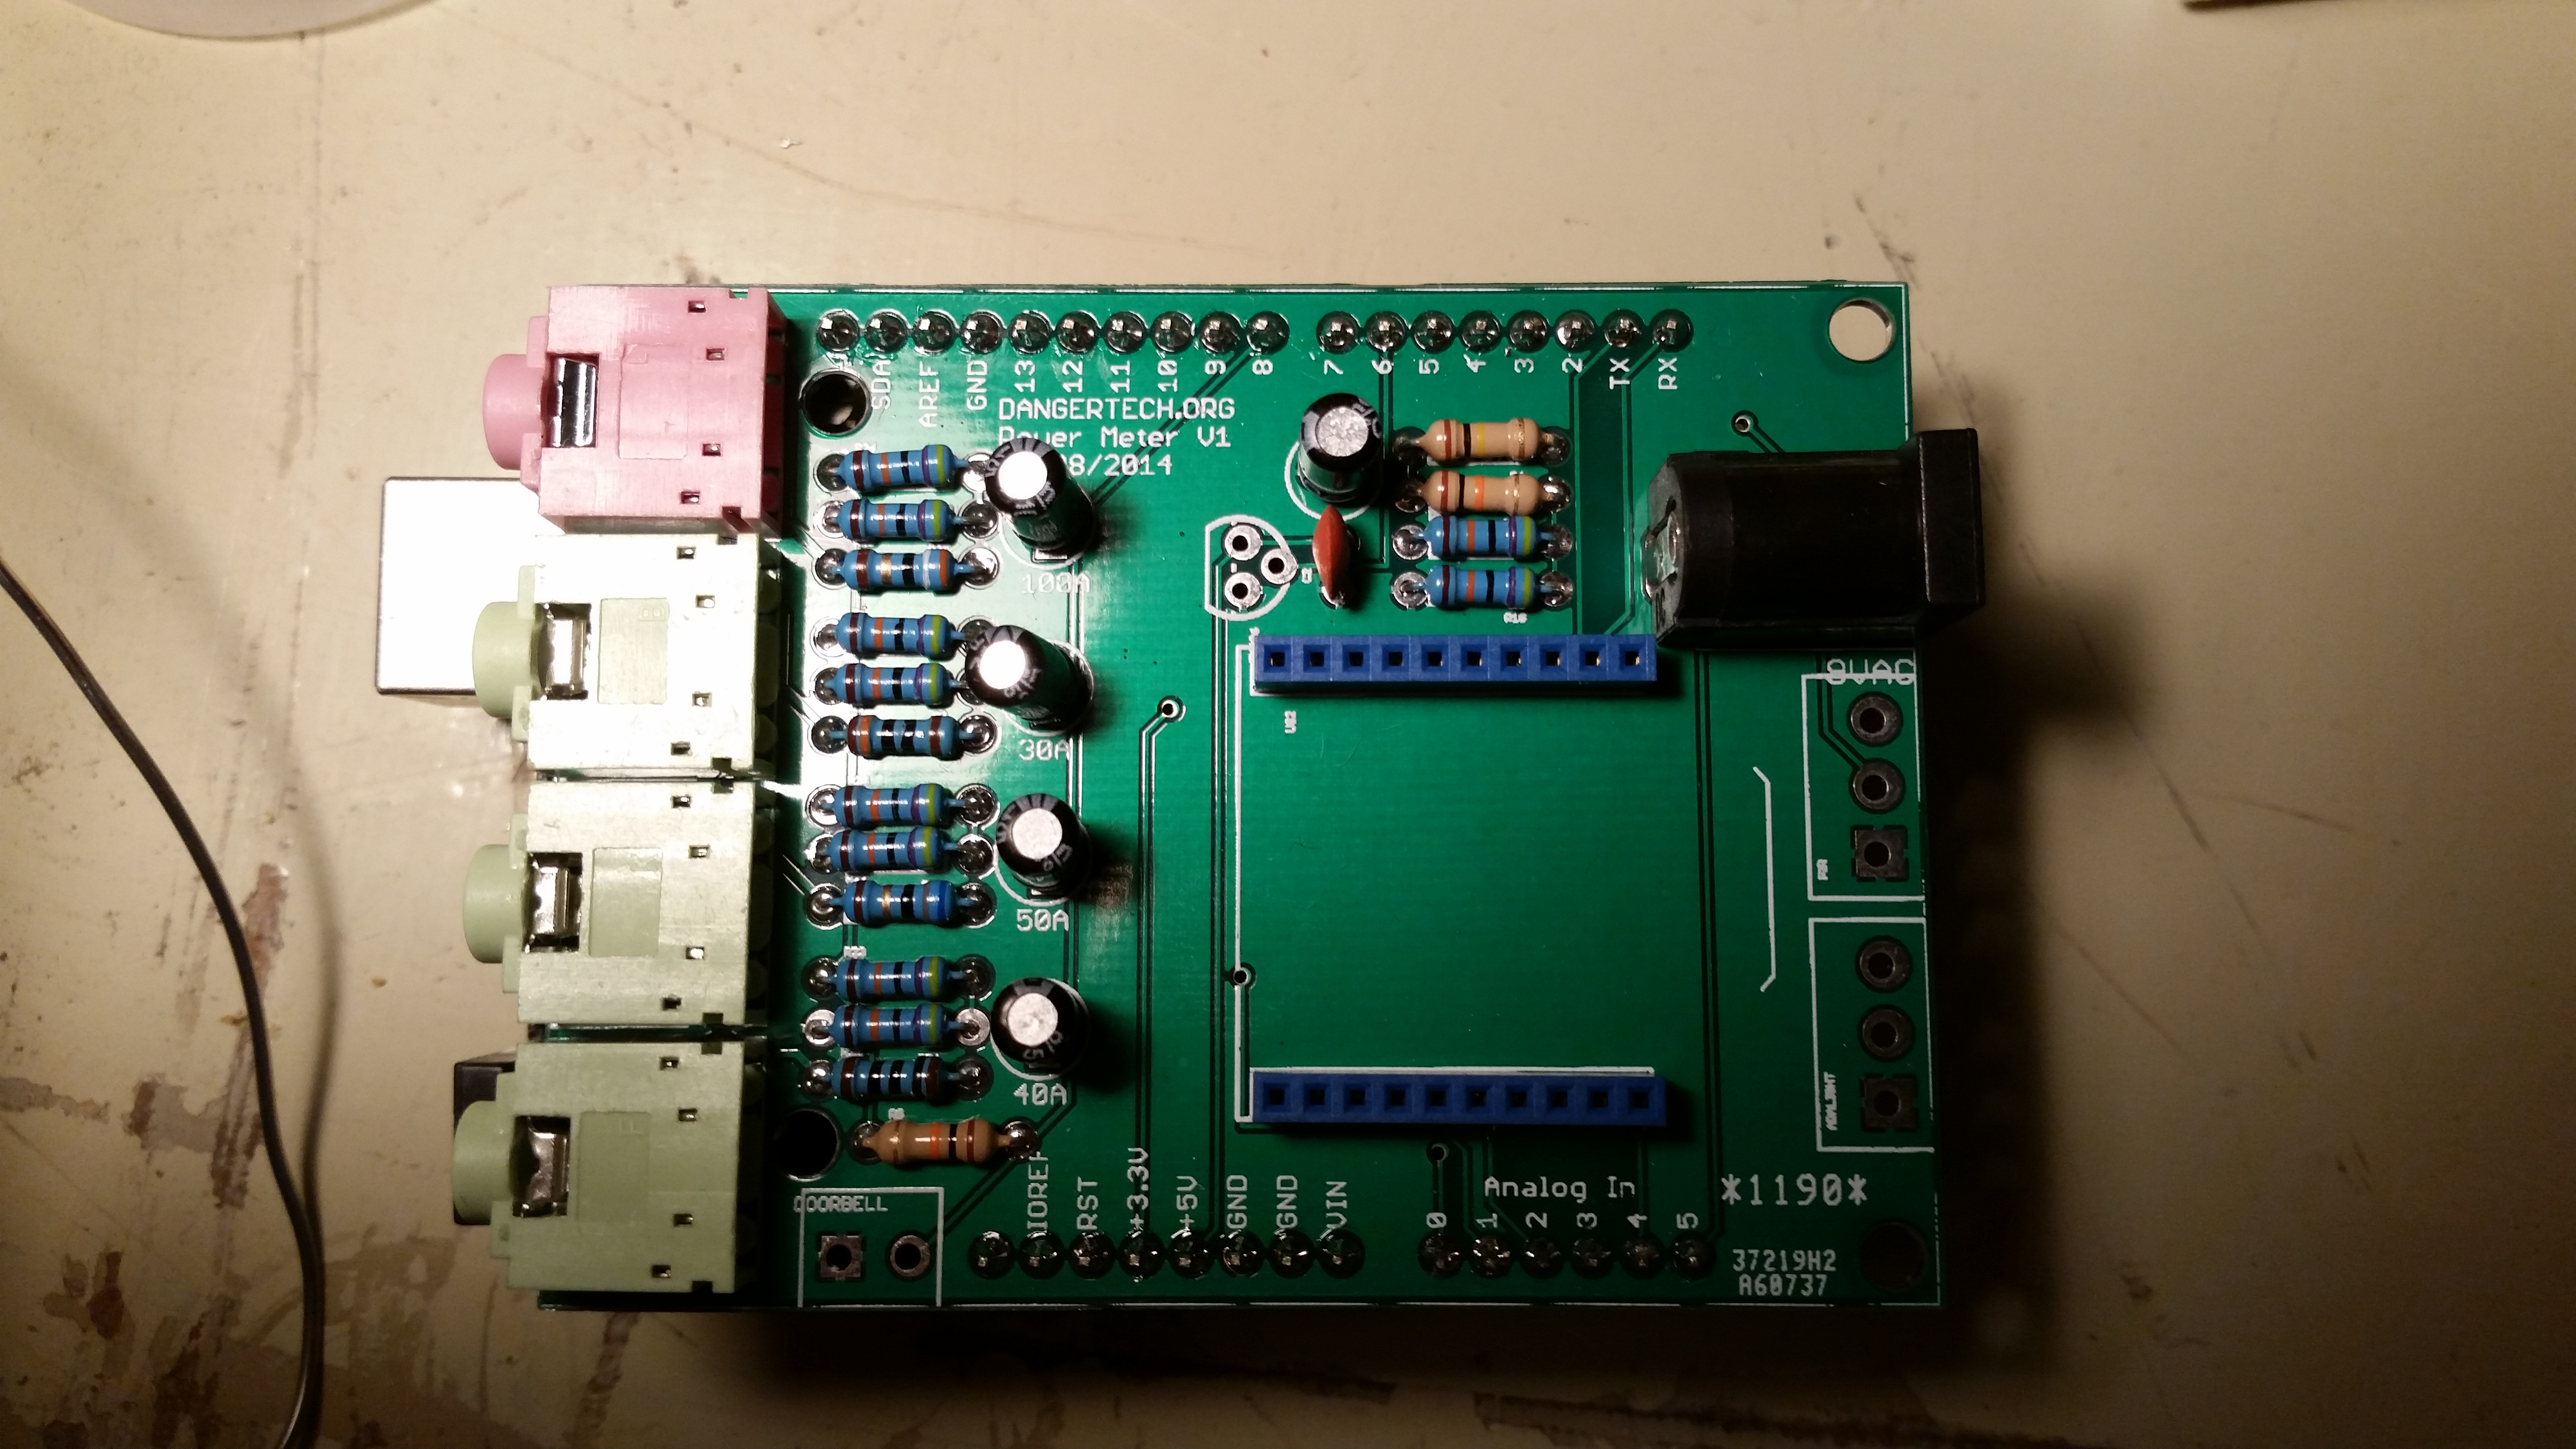
  • Build a custom arduino into the PCB to ditch all the extra component drain that arduinos come with.
  • Put the arduino asleep with the Jeelib library in between sensor reads

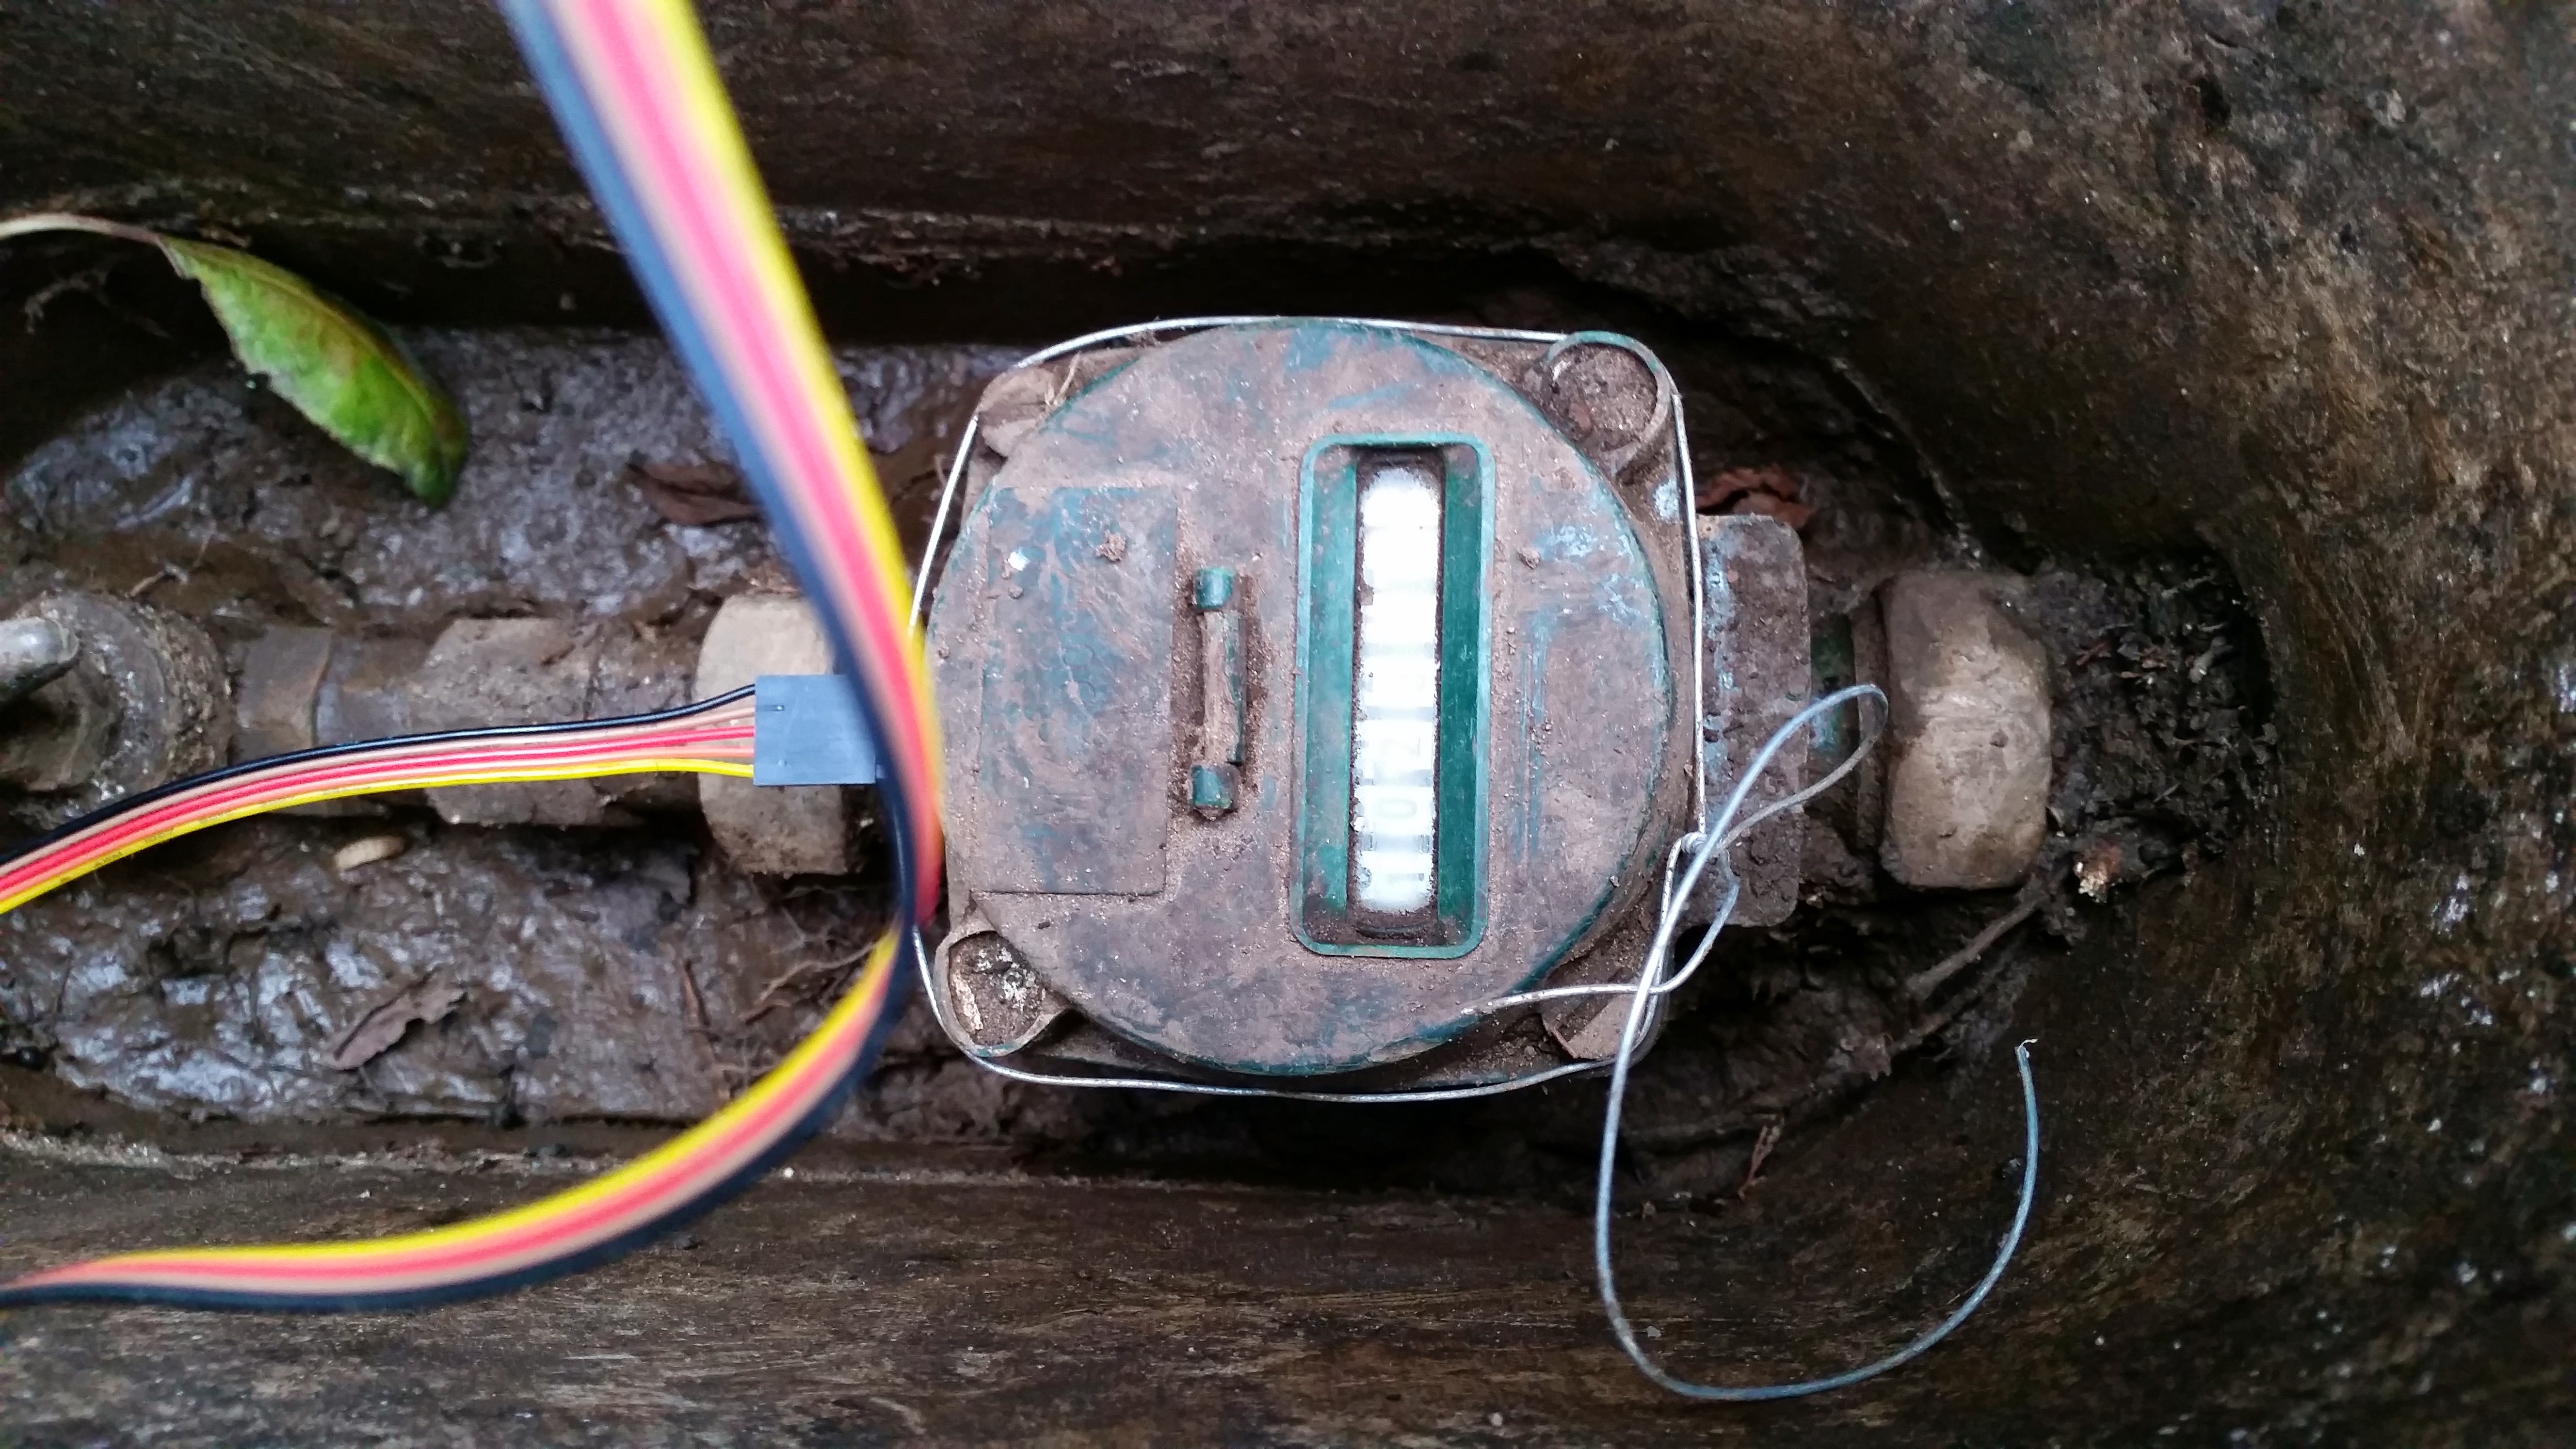
One other problem is the location of the power meter, it is in a very shady spot, more especially when the trees around it get their leaves back from winter. This brings up another option, I could run a wire from the house to power it. What to do? I’m not sure which way I’ll turn yet. In the meantime I will hook up the meter to the multimeter and see how much current it is actually drawing. I’ll be able to actually see how effective the above points will be at reducing power usage.

Posted in Arduino, Electronics, SensorNet | Tagged , , | Leave a comment

Water Metering?

20140913_151630

I’ve had ideas on monitoring the Houses water usage for awhile. The method I was thinking, which was severing the mains and putting a flow meter in between, didn’t sound like the best of ideas. The flow meters I have around don’t really look up to snuff for something as hardcore as monitoring the water mains. Per tap is another thing though. I think they would be great at this. It was then when I was reading through some hackaday.com articles when I came across HackersBench project to monitor is own water usage. He had the fantastic idea of monitoring the magnet that spins around inside the mains water metre with a magnetometer! Surely not I thought, can this really be detected? I wasn’t sure if the magnetometer would be able to get close enough to the magnet to pick up anything. It was damn well worth trying out though. I breadboarded up an Arduino nano, A LCD , a battery pack and a MAX3110 magnetometer.20140913_151630

I banged out some quick code to show the readings on the X,Y and Z axis and went out to test. I ended up having to dig out my meter a bit to get to it better. Amazing how much crud builds up in there. I remembered cleaning it out 3-4 years ago.20140913_151641

I turned a tap on and left it running and ran back to the meter. Holding the sensor in place I fired up the Arduino and…. BINGO! It was easy to see the Sine wave of results appearing on the LCD. Up Down Up Down. This was excellent. I was quite excited. I took the contraption I had built inside and over the next few days have been coding and testing a more permanent solution. I added an XBee to the solutions and updated MotherHubs code to accept the new sensors. The code so far seems robust. Its been running most of  the day with no problems. I made a few changes including calibrating how many of the rotations of the magnet meter it takes for a litre of water to be measured. Hopefully its pretty dead on now. the mains meter is a Davis Shephard type. No model number that I can see and I couldn’t find any Specifications on the net. If anybody else is looking I have it as 57.1428 millilitres per turn of the magnet.

Here are some graphs from Xively.com. Not the best but until I get my own web front end up they tide me over 🙂 These are based over 12 Hours.


Water Usage. Litres per minute
20140913_151641

Water Usage. Litres per Hour
20140913_151641

Water Usage. Litres per Day
20140913_151641

This has completely side tracked me from the PowerArdy project but I have enjoyed it thoroughly. Need to get to work on designing a PCB for it! I have the breadboarded unit inside a lunch box by the meter at the moment. Not sure how long the battery can run it as yet. I’ll have to add battery monitoring next 🙂

Posted in Arduino, Electronics, SensorNet | Tagged , , , , | 3 Comments

PowerArdy Arrives!

2014-09-14 18.59.32


The PCBs arrived from DirtyPCBs.com! They came much faster than the first lot I ordered. I wasn’t expecting them in the 2 weeks they took to come, nevertheless enough of the other parts I needed had come that I could put the main bits together!

20140826_101002


That very night after work I busily got the parts together to solder up…

20140826_205037

Tada! Mostly completed. its still missing the 3 terminals for the doorbell, motion and light detection. They haven’t arrived yet. I made a mistake there and used the wrong spaced terminals. So many parts to choose from in EaglePCB!


2014-09-14 18.59.32

I fitted it into an arduino UNO and quickly got to some testing. Alas, all my results were coming in at zero, something was up! I was out of time and didnt get back to it for another 2 weeks. Seems my code was just a bit off and the library I was using from openenergymonitor.org needed some slight changes. I fixed all that up and I had results! Well 3 results out of the 5. The 9V AC jack was wired wrong but easy to fix with a small piece of wire. The Pink 3.5mm jack above was the other problem. I tested components over and over ruling them out until finally i was following a trace and found this (See red arrow below)

IMG_20140909_231356 (1)


A manufacturing Defect! I could not believe it! I checked the other 9 boards I got from DirtyPCBs and all of them were fine. Just the lucky one I had chosen had the flaw. Ha! This should be easy to fix with some careful scratching of the PCB. I’ve learnt to check over the PCB first before putting the boards together now. Lesson learnt. Not far away now from having very decent power monitoring!

Posted in Arduino, Electronics, SensorNet | Tagged , | Leave a comment